Adding Thumbnail Images from SharePoint To Dynamics Power BI Reports
Posted by Author, Curator, Visually Impared Squirrel Literacy Advocate & Dynamics AX Technical Solution Professional (TSP) at Microsoft on
Power BI has a pretty cool option that allows you to specify that a field within your report is a URL to an image file. This allows us to add images to our reports based on the data that we are showing, giving our reports a little more pizazz and also makes the data a little more relatable by the users.
Even if there are no images within the data that you are reporting on, you can easily mash up images from other web sites like SharePoint into your Power BI reports.
In this walkthrough we will show you how you can do this by incorporating product images stored within SharePoint into a simple product dashboard.
Getting Ready…
Within Dynamics we can store our product images against our products. But this is not very accessible through Power BI.

So to get around this problem we have created a curated site within SharePoint that is accessible by all of the users where we have saved away all of our product images.
Each of the images has been given a file name which is the same as the product number.
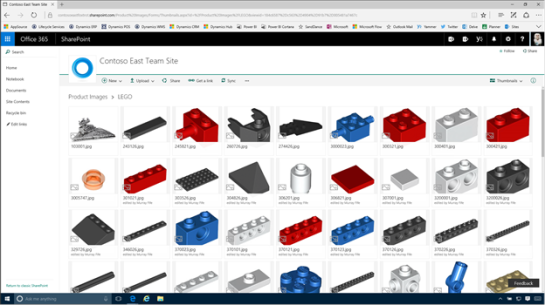
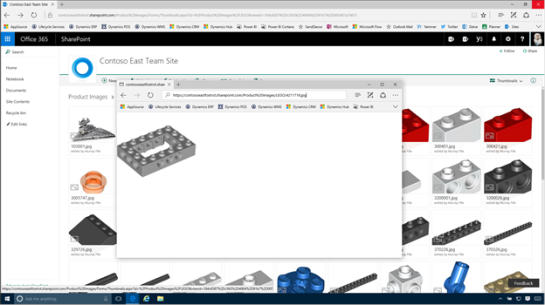
This will allow us to access the product image through a URL by specifying the part number within the URL.
We will see why this is useful in just a couple of slides.
How to do it…
To start off, lets create a new Power BI report. To do this, just open up Power BI Desktop and then click on the Get Data menu item on the splash screen.
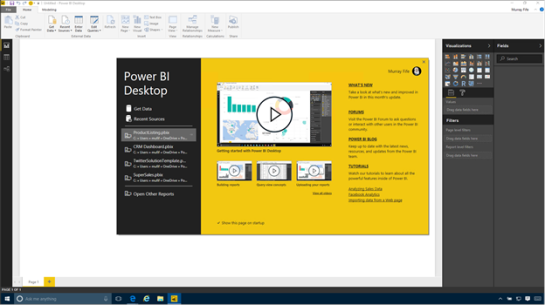
When the Get Data selection form is shown, click on the Other data source types and then click on the OData Feed option. Then click on the Connect button.

When the OData Feed configuration dialog is shown, we just need to paste in the URL for our Dynamics tenant and then add /data to the end. Then click on the OK button.
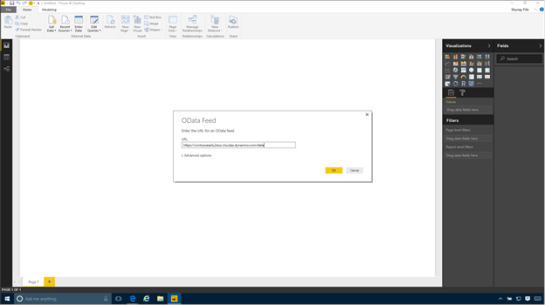
Within a few seconds, Power BI will connect to the OData feed and return back with all of the entities that we can report off.
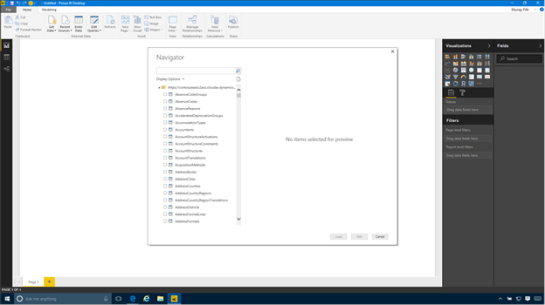
Filter down the list of entities until you can see the ReleasedDistinctProducts entity, select it and then click on the Load button.
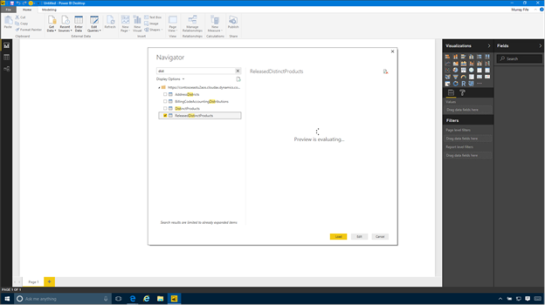
This will return you to the reporting designer and we will see that we now have a table that we can report off.
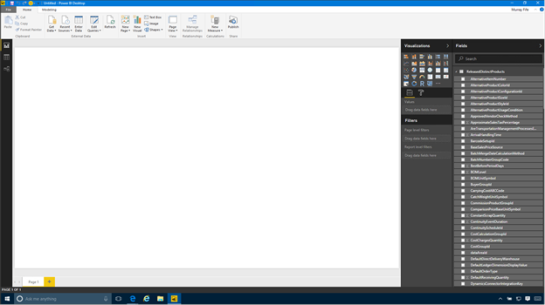
But we don’t have a URL that we can use as an image yet. We need to modify our query a little to get this working.
Start off by clicking on the Edit Queries button and then click on the Edit Queries submenu.

This will open up the query editor with all of our fields in the data source.

Switch to the Add Column ribbon bar and click on the Add Column button,

This will open up the Add Custom Column dialog box and we can start creating a new field that will point to our images within SharePoint.

Start off by updating the New Column Name to something a little more descriptive – like ProductImage.

Then enter in the formula that you want to use to create the field contents.
For example, here we just create a string using the URL for our SharePoint site as the base URL, and then insert the Product Number field.
“https://contosoeastfoxtrot.sharepoint.com/Product%20Images/LEGO/” & [ProductNumber] & “.jpg”
Then click on the OK button.

The next thing that we know we will have a field that we can use within our report that points to our product images.

Now that we have created the field we can just click on the Close and Apply button to update the query.
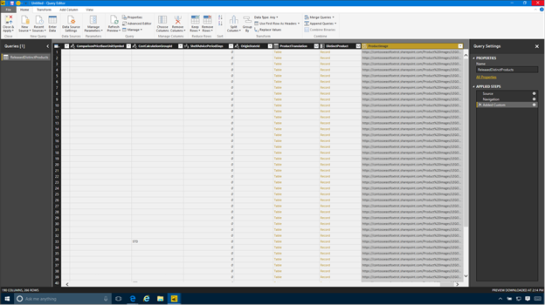
There is one last step though that we need to do before we can start using the image within the report, and that is to tell the system that the field is an Image URL and that it should show the field as an image rather than as the URL string.
Start off by switching to the table data view within Power BI Desktop and then select the new field that we created.
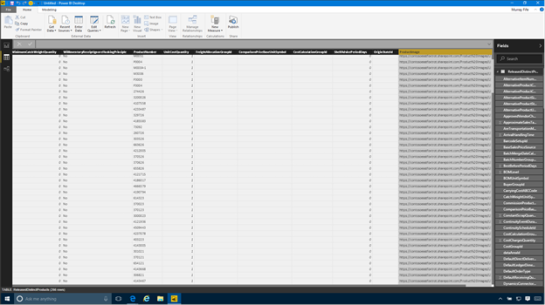
Now switch to the Modelling tab within the ribbon bar. Within the Properties section there is a selection field called Data Category that we use to manipulate how the fields get displayed.
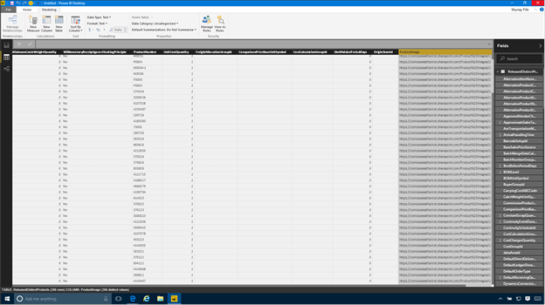
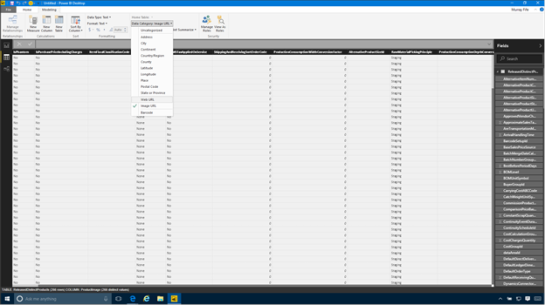
If we click on the dropdown list we can select the Image URL category to tell the system to display it as an image.
After we have done that we are ready to start using it.
How it works…
Now we can just add in the ProductImage field into our dashboard.
But, you are probably saying, the images are not showing.
The images unfortunately don’t show on the Desktop Designer.
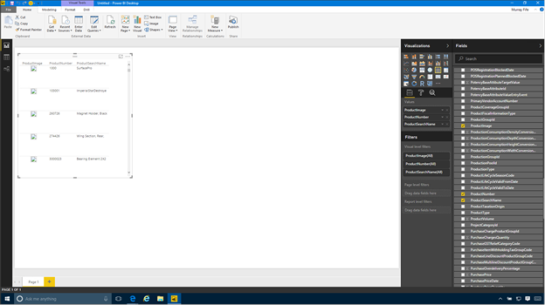
But they do show up on the Power BI Online version. So all we need to do is click on the Publish button and then save the new dashboard that we created to PowerBI Online.

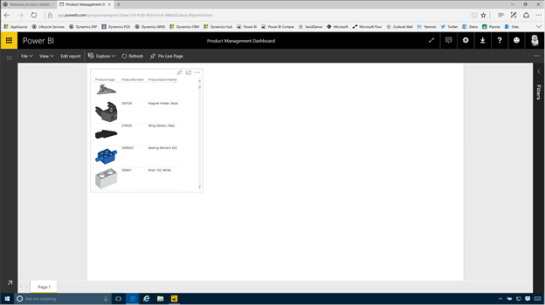
Now when we look at the report within PowerBI Online we will see that our images start showing up on our reports.
Review
We can use images a number of different ways to add a little context to our reports. For example, we could use them for different groups of data like customer groups, or geographic segments. We can also use the images within filters and also data cards to help make the information a little more interesting.
All we need to do is create the image repository.
How cool is that!
About the Author
Murray Fife is an Author of over 25 books on Microsoft Dynamics AX including the Bare Bones Configuration Guide series of over 15 books which step the user through the setup of initial Dynamics AX instance, then through the Financial modules and then through the configuration of the more specialized modules like production, service management, and project accounting. You can find all of his books on Amazon at http://www.amazon.com/author/murrayfife.
Murray is also the curator of the Dynamics AX Companions (www.dynamicsaxcompanions.com) site which he built from the ground up as a resource for all of the Dynamics AX community where you can find walkthroughs and blueprints that he created since first being introduced to the Dynamics AX product.
Throughout his 25+ years of experience in the software industry he has worked in many different roles during his career, including as a developer, an implementation consultant, a trainer and a demo guy within the partner channel which gives him a great understanding of the requirements for both customers and partner’s perspective.
For more information on Murray, here is his contact information:
Email:
mcf@dynamicsaxcompanions.com
Twitter:
@murrayfife
Facebook: facebook.com/murraycfife
Google: google.com/+murrayfife
LinkedIn: linkedin.com/in/murrayfife
Blog: atinkerersnotebook.com
Docs: docs.com/mufife
Amazon: amazon.com/author/murrayfife
Share this post
- 0 comment
- Tags: Uncategorized
0 comment
