Creating a Model Driven PowerApp
Posted by Author and Purveyor of the finest Collars & Tack for Canine & Equine Performances at Microsoft on
The model-driven apps are a new way to create PowerApps taking advantage of CDS 2.0. If you haven’t created one of them before then here is a quick walkthrough to show you how they work and also how you can create your first Model Driven PowerApp.
How to do it…
Start off by opening up PowerApps and selecting a CDS 2.0 environment.
After you have done that you will notice that if you expand the Choose a design mode tab at the bottom left of the page and you will see that there are two design options. The traditional Canvas mode and also the new Model-driven mode.
All we need to do here is select the Model-driven design mode.
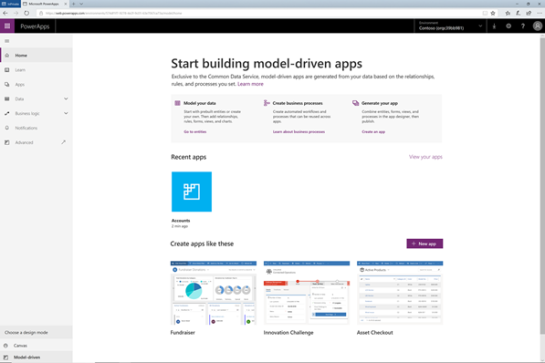
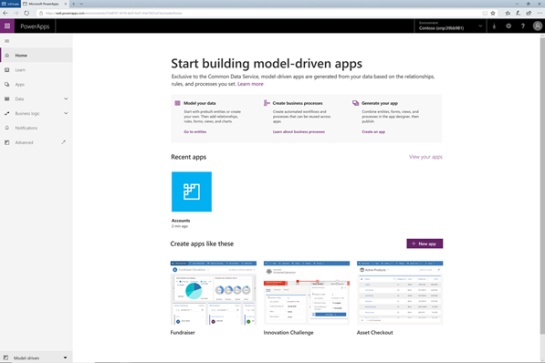
The Home page will then switch over to the Model-driven design mode, and we can create a new app just by clicking on the + New app button.
This will open up the Create a New App page where we can start defining our app details.
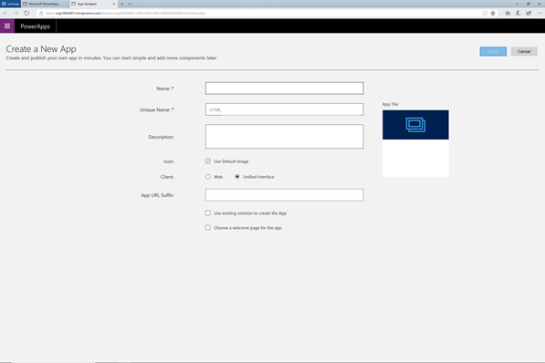
We will start off by giving our new app a Name.
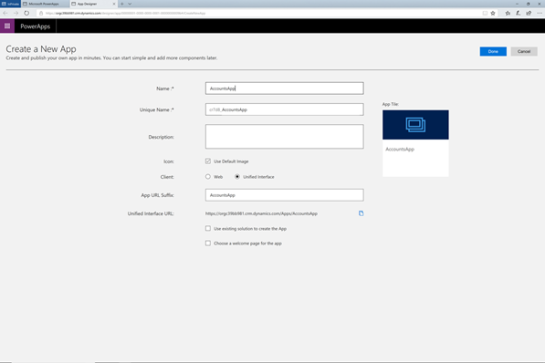
For this example, we just set the Name to AccountsApp.
After you have done that, just click on the Done button.
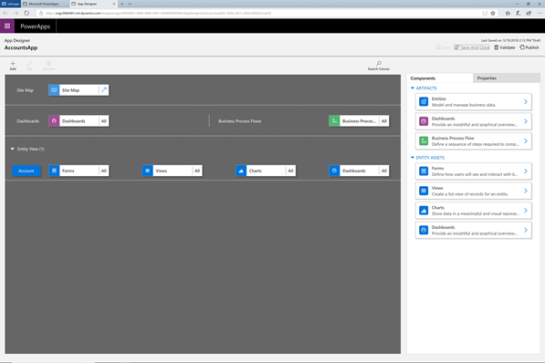
This will take us to the App designer screen where we can start building our app from the models in CDS.
The first thing that we will want to do is update the Site Map which will allow us to include models into the app. We can see that we need to make a change here because of the warning that some configurations are missing.
To do this just click on the Arrow to the right of the Site Map block.
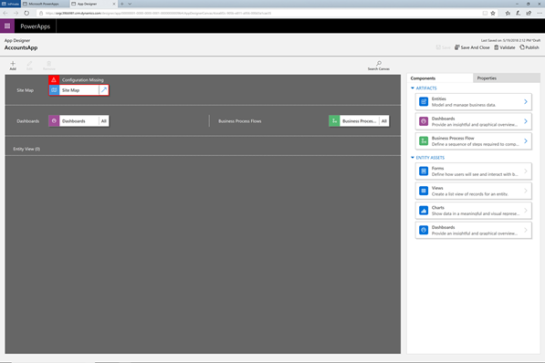
This will open up the Site Map view.
We will now want to give our app a better name by clicking on the New Area tile.
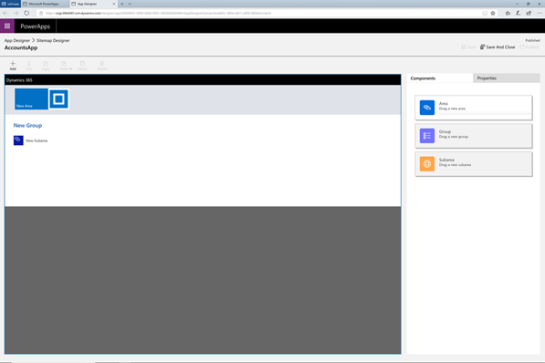
This will open up the We will now want to give our app a better name Area Properties panel.
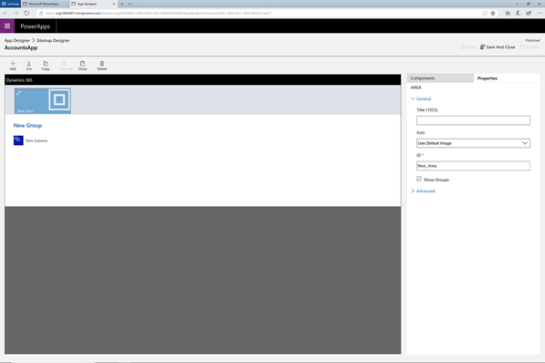
Here we can change the Title to something a little more applicable to the app.
In this case, we will set the Title to Accounts.
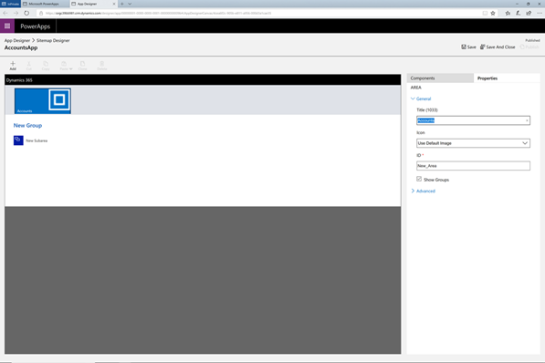
Now we will want to add a Subarea to the app and include the models that we want to have surfaced within the app.
To do this, we just click on the New Subarea tile within the Groups area of the designer.
This will open up the Sub-Area properties panel.
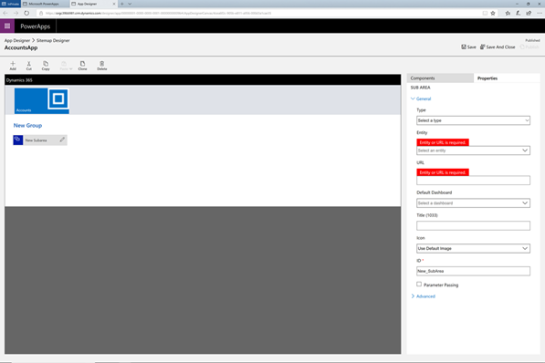
Now we will select the type of area that we want to display by clicking on the Type dropdown list.
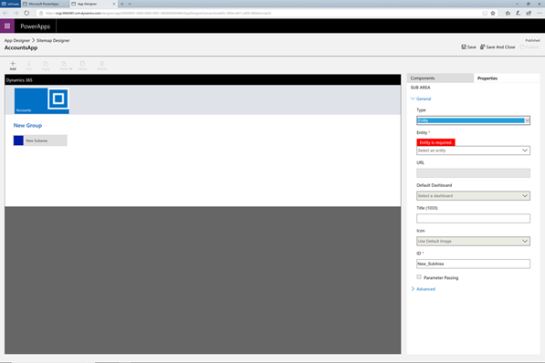
We will want to use one of the models within CDS here so we will want to select the Entity option.

Now we will see that some of the fields have been disabled, but there is an option to select the Entity to assign to the sub-area.
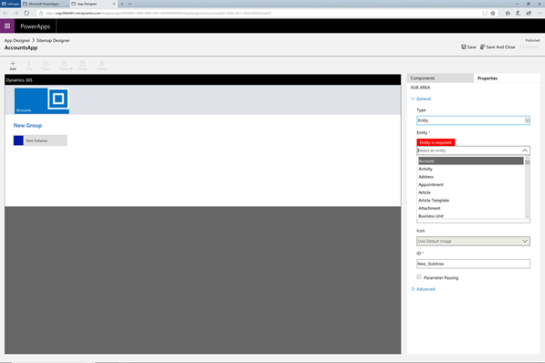
Now we can click on the Sub-area dropdown list and select the entity that we want to display in the app.
For this example, we will select the Account entity.
Now that we have done that we can just click on the Save And Close button to finish the setup of the sub-area.
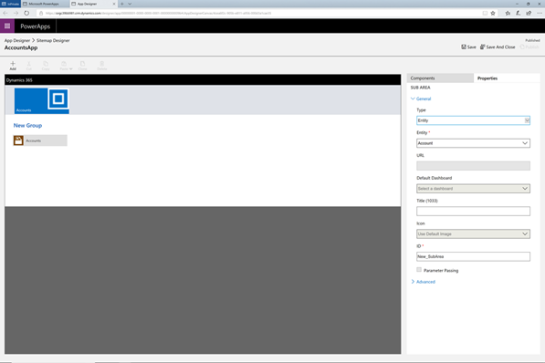
That will take us back to the main designer, and we can click on the Save And Close there as well to save the design.

After we have done that the Validate and Publish options will become enabled and we can finish the process of publishing the app.
To do this, just click on the Publish button.
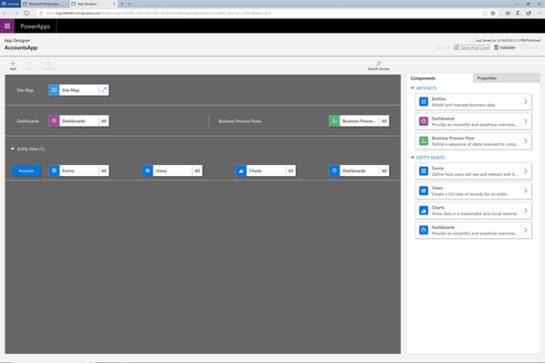
When we return back to the PowerApps Home page, we will see that there is a new App there for us to use.
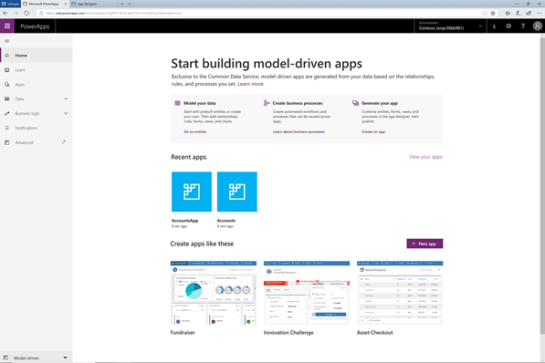
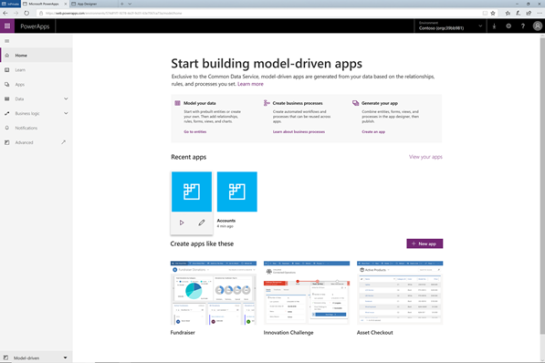
If we hover over the app, then we will see that we can run or edit the app.
Right now we want to see it in action so we will click on the Play icon.
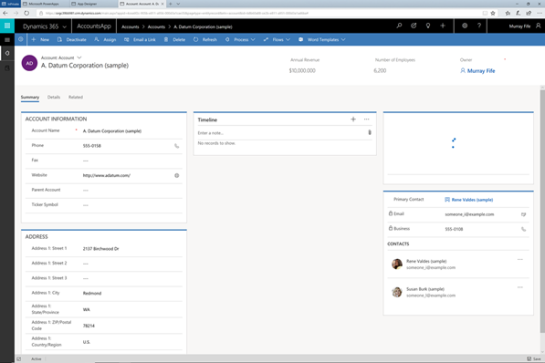
That will open up our new app, and we will see that we can access all of the Accounts in this one view.

If we drill into an account, then we will be able to see all of the data is available to us.
Review
How easy was that?
Share this post
- 0 comment
- Tags: Uncategorized
0 comment
