Creating a Skype QnA Bot Using the Azure Bot Service
Posted by Author and Purveyor of the finest Collars & Tack for Canine & Equine Performances at Microsoft on
Bots are cool. They are going to save all of us by automating all of the tasks and researching that we have to do by hand, and lead us into Utopia. Which is totally true.
Although, you may think that creating a Bot is complicated, and that you need to be a seasoned coder om order to create them.
And if you want to unleash the Bot onto the rest of the world through mediums like Skype, then you have to be an even more advanced coder because you need to understand the API’s and communication interfaces. And who on earth understands that?
Nothing can be further from the truth. You can create your own minion Bot within minutes, and then publish it as a Skype Bot in even less time.
In this walkthrough we will show you how to do this, and also solve one of the world’s greatest problems along the way.
Topics Covered
- Creating a QnA Services with the QnAMaker
- Creating an Azure Bot Service
- Deploying the Bot Service to Skype
- Conclusion
Creating a QnA Services with the QnAMaker
The first thing that you need to give your Bot is a brain, or at least a foundation that it is able to use to interact with people. You can code this by hand if you like, but another option is to cheat and get someone else to do all of the work for you.
That is where the QnAMaker comes in. This is a free service that will allow you to create Question and Answer groups that we can then publish as a conversation service.
It gets even better because you can have the QnAMaker mine a website FAQ and load in all of the information for you.
How to do it…
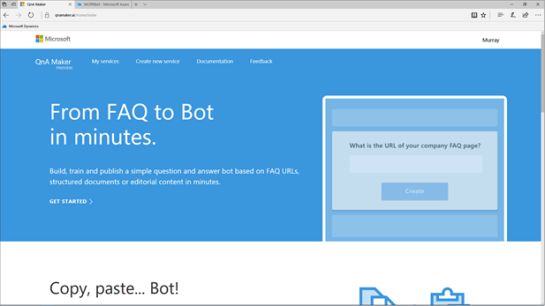
To do this, open up a browser and go to qnamaker.ai.
This will open up the QnA Maker service and all we need to do to start creating our service is to click on the Create new service link in the header.
This will open up a short form where we can define and publish our service.

Start off by giving your QnA Service a Service name.
Here we set the Service name to McEnroe.
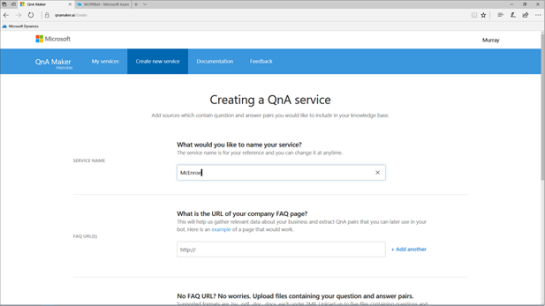
There are a number of ways that you can create the Q&A pairs. You can add them manually, or if you already have a website source for the Questions and Answers, then you can paste that URL into the FAQ URL field.

Now just scroll down to the bottom of the form and click on the Create button.

This will start off the process of building the Question and Answer details for you from the FAQ site.
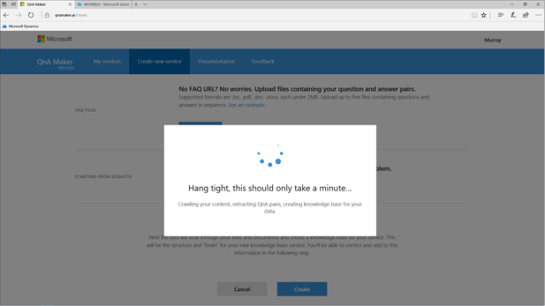
Shortly after that, you will be taken to the Knowledge Base form and see all of the Questions and Answers have been loaded for you.
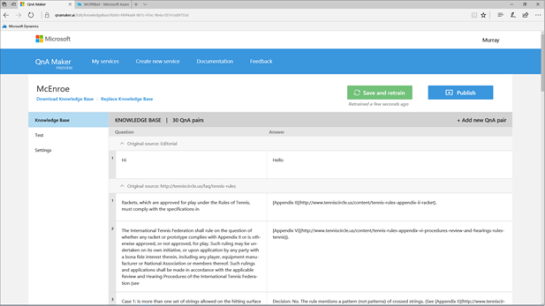
If you like you can change any of the Questions or Answers to be more appropriate for the audience and even add additional information if you like.
When you are happy with the content, just click on the Publish button.

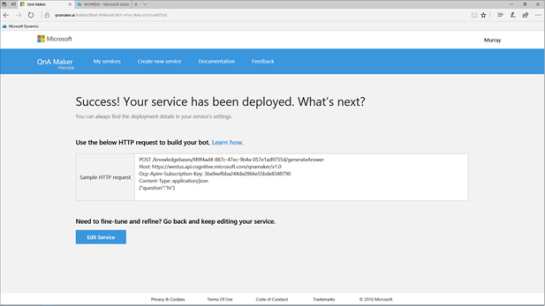
This will take you to the Publishing screen and all you need to do here is click on the Publish button.

That will process all of the Questions and Answers and create a QnA Service.
Creating an Azure Bot Service
Now that we have our QnA Service, we can build a Bot Service that will consume it. This is almost as easy as the creation of the knowledge base, and doesn’t require a single line of coding, because we can deploy out a Bot Service within Azure from a template.
How to do it…
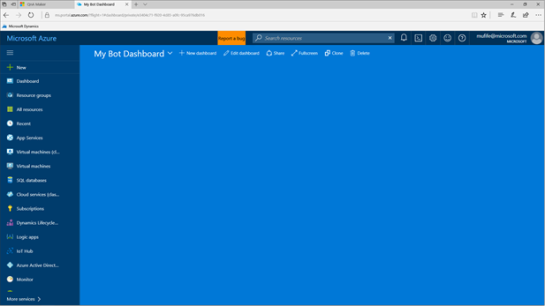
To do this open up you Azure Portal and click on the New button on the left.
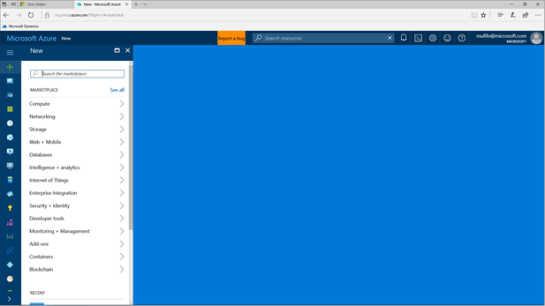
This will open up the Azure Marketplace with all of the services that we can take advantage of.
Rather than searching through all of the categories, just search for Bot Service.
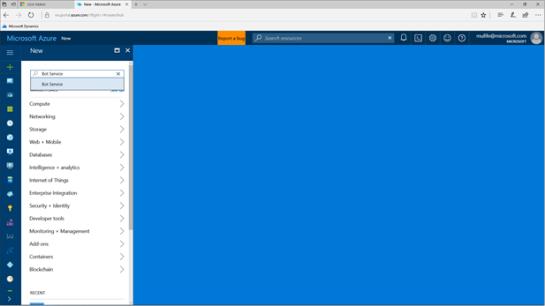
This will open up a list of matching services, and the first one will be the Bot Service template.
All you need to do here is select it.

When the Bot Service panel opens up, just click on the Create button to start building your bot.

This will open up the Bot Service configuration panel.
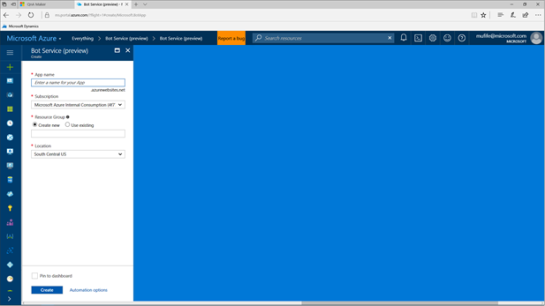
Type in an App name for the Bot Service. This needs to be a unique name, because this is creating a new site on the azurewebsites.net domain.
Luckily for us the McEnroe
App name was still available.

Then enter in a new Resource Group name that you want to put this service into.
You can also change the Location and even check the Pin to dashboard options is you like.
When you are ready, click on the Create button to unleash your Bot on the world.

Azure will then start creating and deploying your Bot.
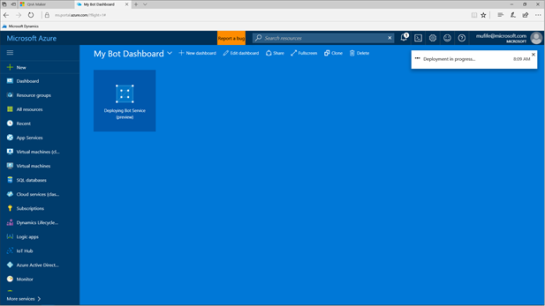
There is one last step that we need to perform to finish off the Bot though. We need to create an Application ID and secure password for the Bot.
So when the Create a Microsoft App ID form is displayed, click on the Create Microsoft App ID and password button.

This will ask you to log in with your Microsoft Account credentials.
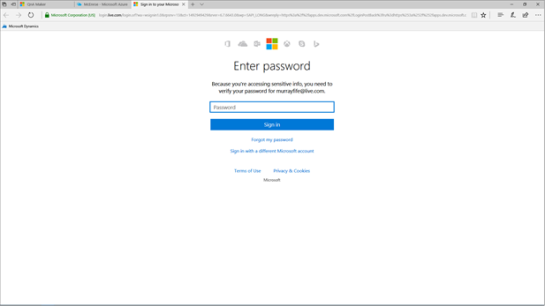
This will open up the service that will allow us to generate an App ID for our application, and also create a password.
All we need to do here is click on the Generate an app password to continue.
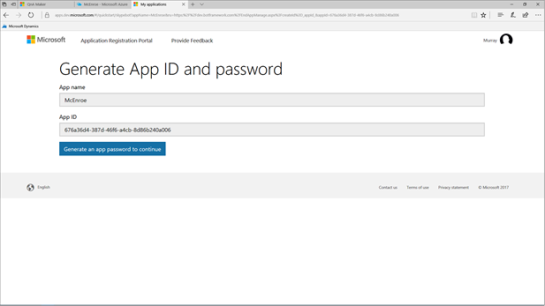
This will open up a new dialog box with the Password that has been created for the app and all you need to do is copy it down.
Now we can return back to Microsoft Azure and paste in the App ID and the Password into the Create a Microsoft App ID form.
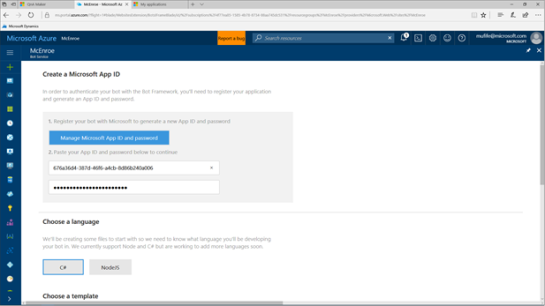
If we scroll down just a bit we will see a number of templates are available for us to choose from for the creation of the new Bot Service. One of them is a Question and Answer template.
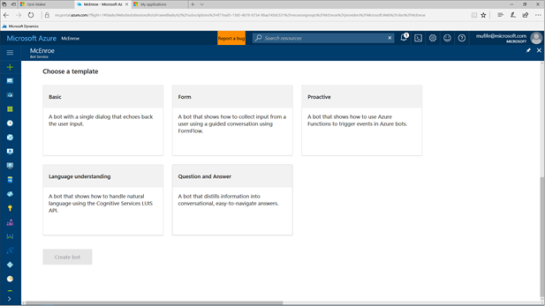
All we need to do is select the Question and Answer template and then click on the Create bot button.

Now we will be asked to connect to a QnA service.
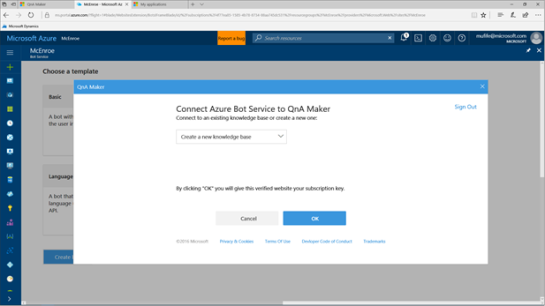
Just click on the Knowledge Base dropdown list and you will see that the QnA Service that we just created is listed there and we can select it to make it the source for the Bot.
After we have done that, just click on the OK button.
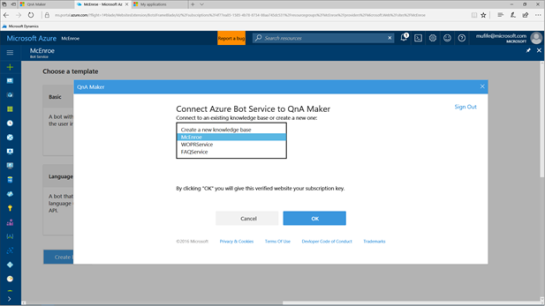
This will start the creation and deployment of the Bot for us.
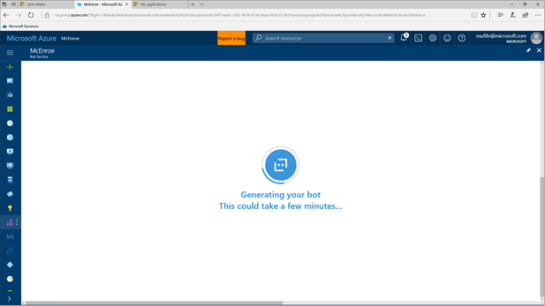
Pretty soon after that we will be taken to the finished Bot.
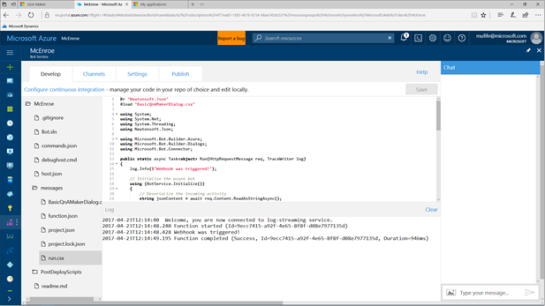
Deploying the Bot Service to Skype
Now that we have created our Bot Service, we want to make this available through Skype so that we can mobilize the Bot, and take it on the road with us.
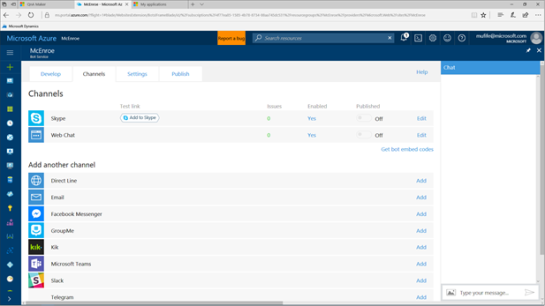
To do this, all we need to do is return back to the Bot Service and then click on the Channels tab. When we do this we will see that there are a number of different channels that we can publish the bot to, and some that have already been created – i.e. the Skype client.
To add the new Bot to Skype, just click on the Add to Skype button.
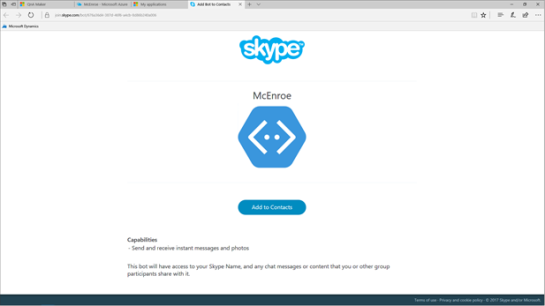
This will open up a Skype window that will ask you if you want to add the new Bot as a contact.
Just click on the Add to Contacts button.
This will take you over to Skype, with a conversation already started with our new Bot.
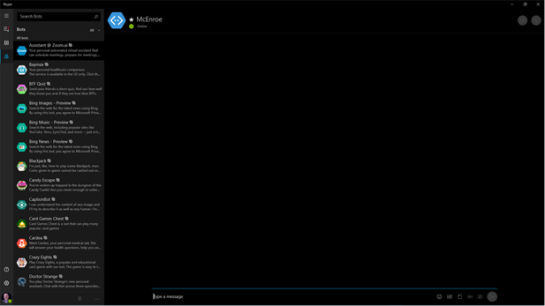
Let’s take it for a test drive – all we need to do is ask it a question.
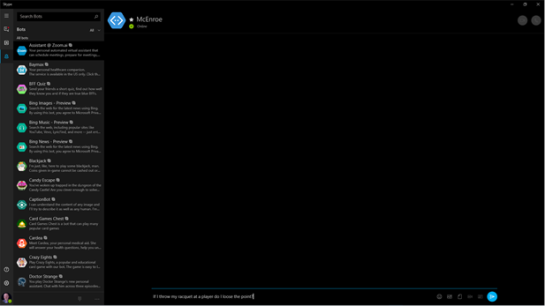
When we submit the question to our Bot, it will look through the knowledge base and then give us the best response using Cortana Intelligence.
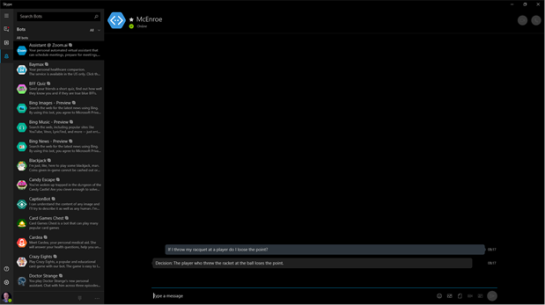
Also, this works on the smaller clients as well, including the phone apps.

Conclusion
Within a couple of minutes we have been able to create a knowledge base for our bot, create a Bot Service that uses it to reply to questions, and then added it to Skype so that we can take advantage of it anywhere.
All without a single line of code being written.
How cool is that!
Share this post
- 0 comment
- Tags: Uncategorized
0 comment
