Exporting Selected Rows to Excel
Posted by Author and Purveyor of the finest Collars & Tack for Canine & Equine Performances at Microsoft on
Dynamics 365 has an export function that allows us to export all of the data from a form over to excel, but did you know that you don’t have to export everything? If you just want to export out some of the data, then you can do it selectively from the list page and just export out the records that you want.
In this quick walkthrough, we will show you all how to do this.
How to do it…
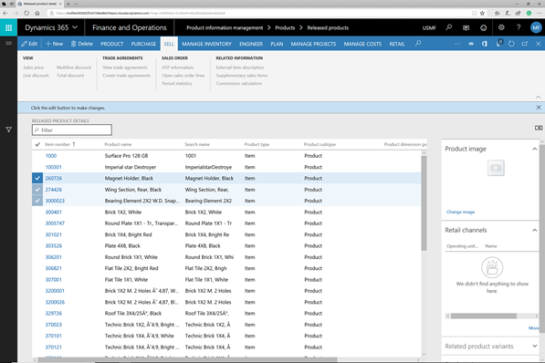
Start off by opening up the list page that you want to export the rows from and select the rows that you want to export.

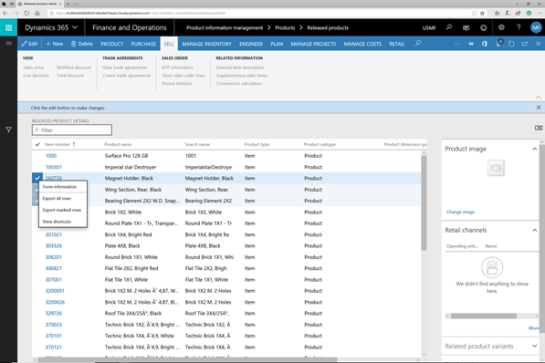
Then right-mouse-click on the check marks beside the records.
When the context menu is displayed, there will be two new options that show up. Export all rows and also Export marked rows.
To export just the rows that you selected, click on the Export marked rows option.

This will open up the Export to Excel panel, and we can click on the Download option to download the records locally.

When the file dialog is displayed, we can just click on the Open button to open up the Excel workbook.

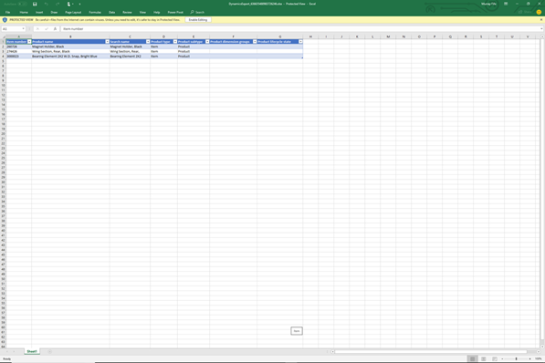
This will open up Excel, and only the records that we selected in the list page will be exported out to excel.

If we switch to Edit mode, then we can manipulate the data as much as we like.

Review
How cool is that?
Share this post
- 0 comment
- Tags: Uncategorized
0 comment
