Publishing Custom AX Data Lists in SharePoint Enterprise Portals
Posted by Author, Curator, Visually Impared Squirrel Literacy Advocate & Dynamics AX Technical Solution Professional (TSP) at Microsoft on
 |
| The Enterprise Portals are quick and easy ways that you can publish information out to the users using SharePoint so that they can have a single place to analyze the business, and also to access information on the go through tablets or web browsers. Bus sometimes you may find that there is information in Dynamics AX that is not available through the standard Enterprise Portal controls.
In this worked example we will show how you can easily create your own custom user data controls for Dynamics AX that you can add to existing SharePoint portals, and also to Role Centers to add that last bit of information that you may want to see. And all without a single line of code. |
| Create A Data Set Source |
| We first need to configure the document services to enable the importing and exporting of data. To do this, open up the services in AOT, and select the BudgetTransactionsService. In the context menu, open up the Add-Ins, and choose the Register service function. |
 |
| Then from the context menu, we will add in a new Data Set. |
 |
| Rename the Data Set to something a little more understandable. |
 |
| And then add in a new Data Source to the project. |
 |
| Rename the Data Source and then from the Table field in the properties pad, select the table that we want to use for this query. In this example, we will choose the CustTable table. |
 |
| The final step that we will do here is to update the InsertEmpty property to No. |
 |
| Create An Enterprise Portal Grid Control |
| Now we want to create a SharePoint Control that will be used to display the Data Set that we just created in the previous section. To do this we will use Visual Studio. |
 |
| We will create a new project… |
 |
| And from the Microsoft Dynamics AX template group, we will choose the EP Web Application template, and rename the project. |
 |
| This will create the shell for our project. |
 |
| Now we want to add a new control to the project which we will use for the SharePoint control. |
 |
| From the Microsoft Dynamics AX template group, select the EP User Control item, and give the control a better name. |
 |
| Now we have a blank control to work with. |
 |
| From the Toolbox, add in a new AxDataSource which will be our link back to Dynamics AX. |
 |
| From the dropdown, we should be able to find the new Data Source that we just created in the previous AOT step. |
 |
| And then give the control a better name. |
 |
| Next we want to add an AxGridView control to the form. |
 |
| Then link the Grid to the Data Source that we created on the form. |
 |
| And give the grid an appropriate name as well. |
 |
| From the AxGridView Tasks dialog, click on the Edit Columns link so that we can define what fields needs to be showing on the form. |
 |
| This will open up the field browser. |
 |
| From the BoundFields group we will add a couple of fields… |
 |
| And to add a group of fields, we will choose the group from the BoundFieldGroup group. |
 |
| Finally we will save the project. |
 |
| Adding Your Control To Your Enterprise Portal |
| Now we are able to use the new control within SharePoint. Firstly we will create a new page so that we can add our new control to it. |
 |
| To add the control, add a new Web Part, select the Microsoft Dynamics AX category, and add a User Control. |
 |
| After the control is added, from the Web Part context menu, select the Edit Web Part menu item. |
 |
| From the Managed content items drop down, you will be able to select the new user control that you just created. |
 |
| Before we exit from here, we’ll give the web part a proper title. |
 |
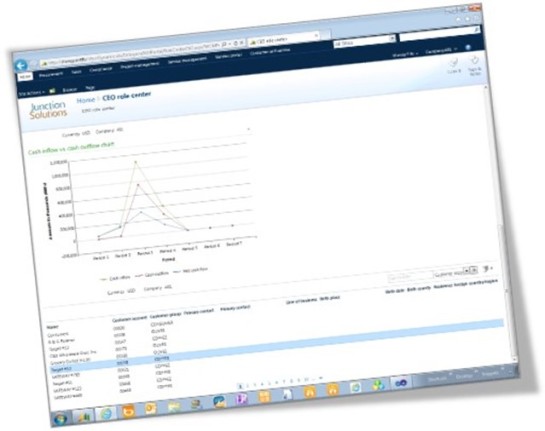
| Now we have all of our customers showing up in SharePoint. |
 |
| Adding Your Control To Your Role Center |
| What we really need to do though is add our custom lists and controls into the Role Centers. We do that exactly the same way. |
 |
| Now we have the same view on our personal dashboard. |
 |
Share this post
- 0 comment
- Tags: Dynamics AX, SharePoint
0 comment