Embedding PowerView Reports Into Your Role Centers
Posted by Author, Curator, Visually Impared Squirrel Literacy Advocate & Dynamics AX Technical Solution Professional (TSP) at Microsoft on
 PowerView is a great way to create your own dashboards and analysis for Dynamics AX because everyone is able to use it… even the non-technical of you out there. If you create a cool dashboard though, you don’t need to keep it in the shadows of your own personal files, you can share it with others by saving it back to the PowerView reports folder, and you can also make it available to everyone by adding it to your default role centers so that everyone is able to take advantage of it.
Set your dashboards free!
Before You Start…
The first thing that you need to do is to create your dashboard through PowerView.
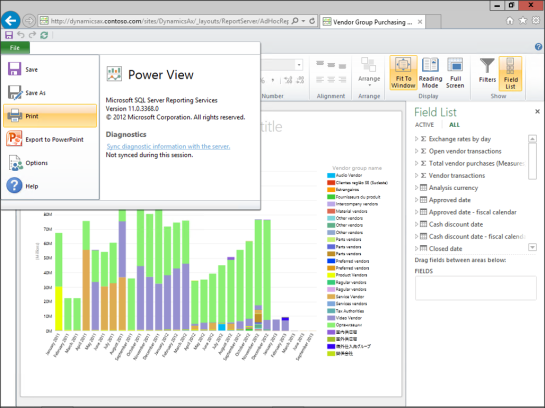
In order to share your report, you need to save it to the server, so from the File menu, select the Save As menu item.
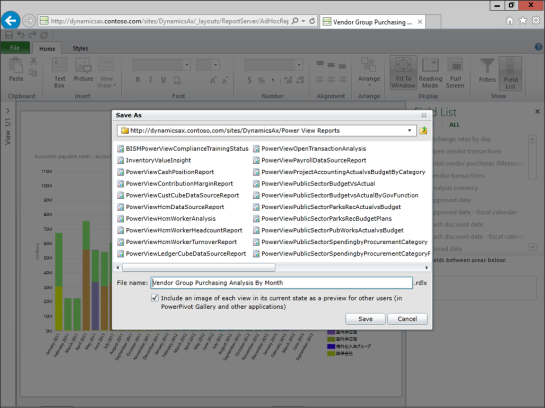
When the Save As dialog box is displayed, give your dashboard a File name, and then click the Save button.
How To Do It…
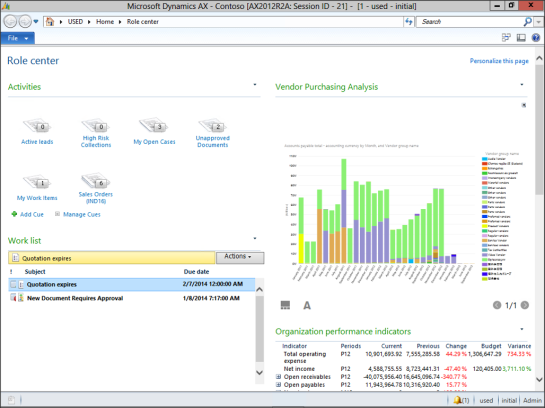
To add the PowerView report to the your role center, first click on the Personalize this page link at the top right of the page.
When the role center changes to the design mode, click on the Add a Web Part link in the area that you want to add the dashboard to.
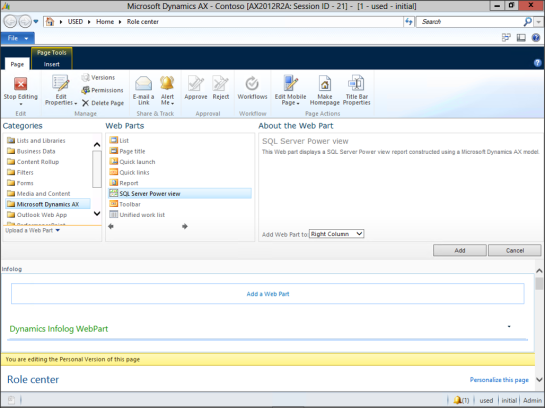
This will open up the Web Part browser, and from the Categories list, select the Microsoft Dynamics AX category, and then from the Web Parts list select the SQL Server Power View item. Then click on the Add button to insert it into your role center.
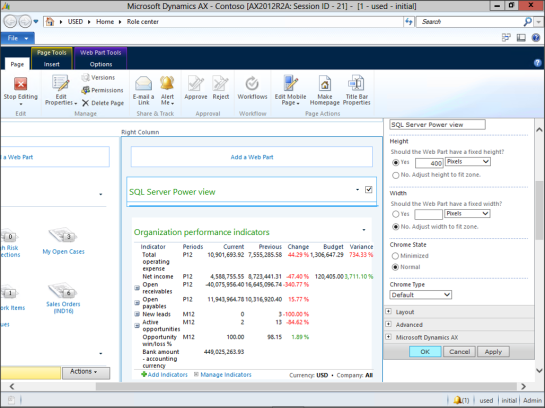
When the role center is updated, you will notice that a new SQL Server Power View panel has been added, but there is no dashboard associated with it yet.
To do this click on the small down arrow to the right of the web part name and select the Edit My Web Part menu item.
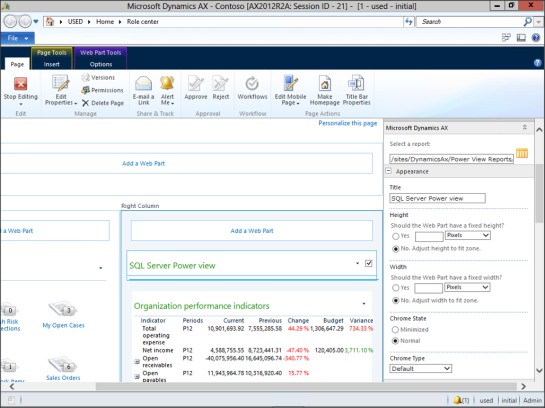
When the web part properties window shows up on the right, click on the orange table browser icon to the right of the Select a report field.
This will allow you to browse to where you saved your PowerView dashboard, and you can select and then click on the OK button.
When you return to the web part properties, you will now see that the URL for the report has been populated in the Select a report field.
Scroll down to the bottom of the properties panel and click on the OK button to save your changes.
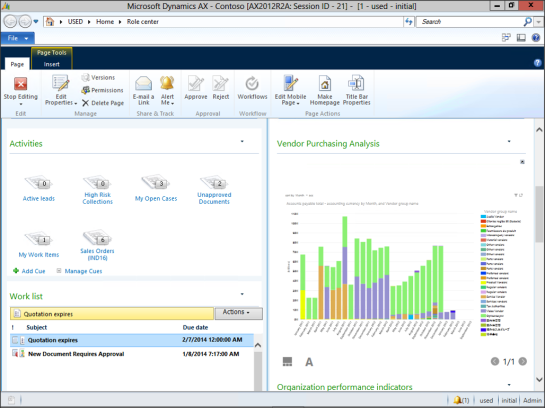
Now when the role center is displayed, you will see your new dashboard has been embedded in the page.
To exit the design mode, just click on the Stop Editing button within the Page ribbon bar.
Now when you access your role center, you will see the new PowerView dashboard as one of the role center panels.
Share this post
0 comment


