Adding Walkthrough Sections
Posted by Author, Curator, Visually Impared Squirrel Literacy Advocate & Dynamics AX Technical Solution Professional (TSP) at Microsoft on
As you create walkthroughs, you will probably want to break them out into bite sized chunks that describe the building blocks of the walkthrough. Within the Author Tools these are managed as sections. They can be grouped into Chapters later on and then chapters can be grouped into multiple Parts if you have a large process that you are documenting. To start the writing process off we will want to add a Section to the walkthrough so that we can add steps under it.
How to do it…
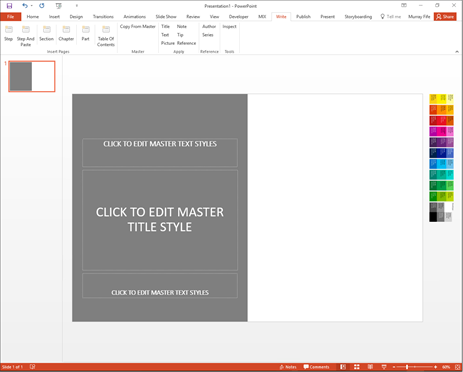
To do this, switch to the Write ribbon bar and you will see that there are a number of slide icons within the Insert Pages button group. These indicate the common pages that you will probably want to add into the walkthrough. It starts off with the Steps of the walkthrough and then has other pages for the organization of the walkthrough like Sections, Chapters and Parts.
To add a section into the design just click on the Section button.
This will add a new slide for you with the information that you need for the section – which is really a Title for the section and also some Text to introduce the section. These are the common building blocks for all of the slides.
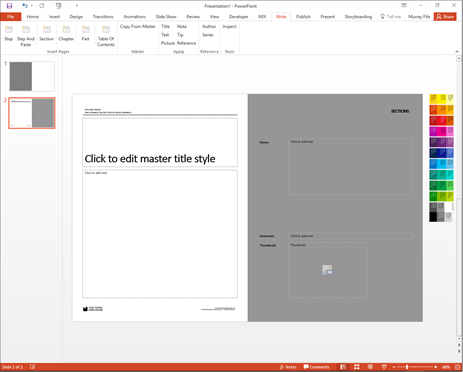
Just type in the section name into the Title shape and also add in any text that you want to help introduce what you are doing.

Share this post
- 0 comment
- Tags: Uncategorized
0 comment